How to Repair Cracks in Painted Walls—and Keep Them from Coming Back

How to Repair Cracks in Painted Walls—and Keep Them from Coming Back
Cracks in painted walls are one of the most common home maintenance issues. They can appear in both new and older houses, and even small ones can make a room look neglected. The good news is that most cracks can be repaired with a few simple tools and a bit of patience. Here’s a step-by-step guide to fixing cracks in painted walls—and how to keep them from returning.
Why Do Cracks Appear?
Before you grab your spackle and paintbrush, it’s important to understand what caused the crack in the first place. That will help you choose the right repair method and prevent future damage.
- House settling – As a home ages, it naturally shifts and settles. These small movements can cause cracks in drywall or plaster.
- Temperature and humidity changes – Seasonal expansion and contraction of materials can lead to cracking, especially in climates with hot summers and cold winters.
- Poor surface preparation – If the wall wasn’t properly cleaned, primed, or finished before painting, the paint may peel or crack over time.
- Material movement – Cracks often form where different materials meet, such as between drywall and wood trim, because they expand and contract at different rates.
Identifying the cause helps you choose the right fix—and ensures your repair lasts.
Step-by-Step: How to Repair Wall Cracks
1. Inspect the Crack
Start by examining how deep and wide the crack is. Is it just in the paint, or does it go into the drywall or plaster? For cracks wider than about 1/8 inch, use a utility knife to slightly widen and clean out the crack so the filler can adhere properly.
2. Clean the Area
Brush away any loose paint or debris with a stiff brush. Wipe the area with a damp cloth or vacuum it to remove dust. A clean surface ensures the patching compound sticks well.
3. Fill the Crack
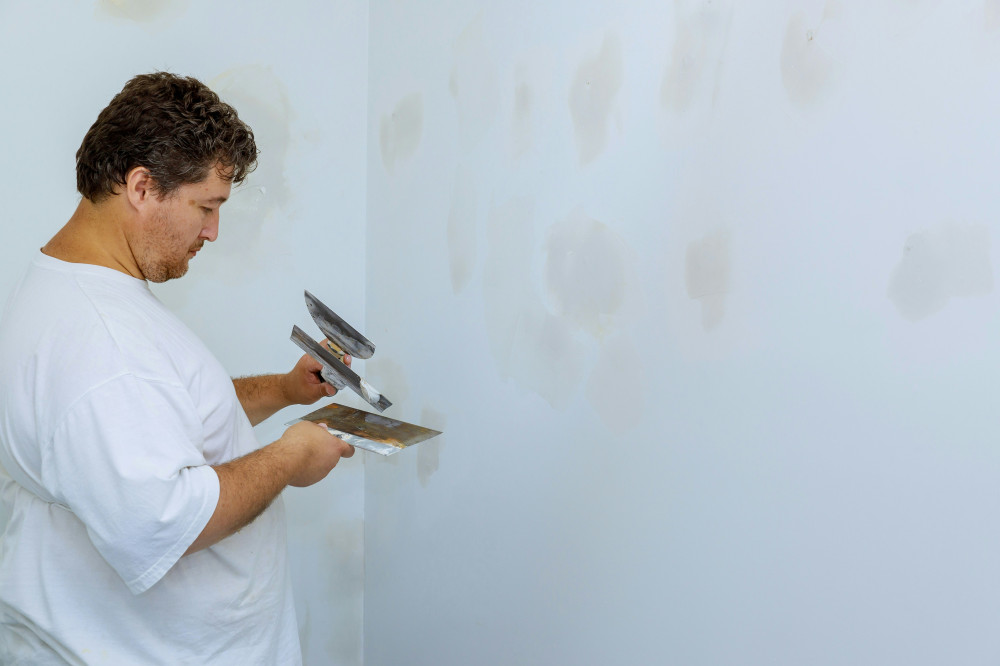
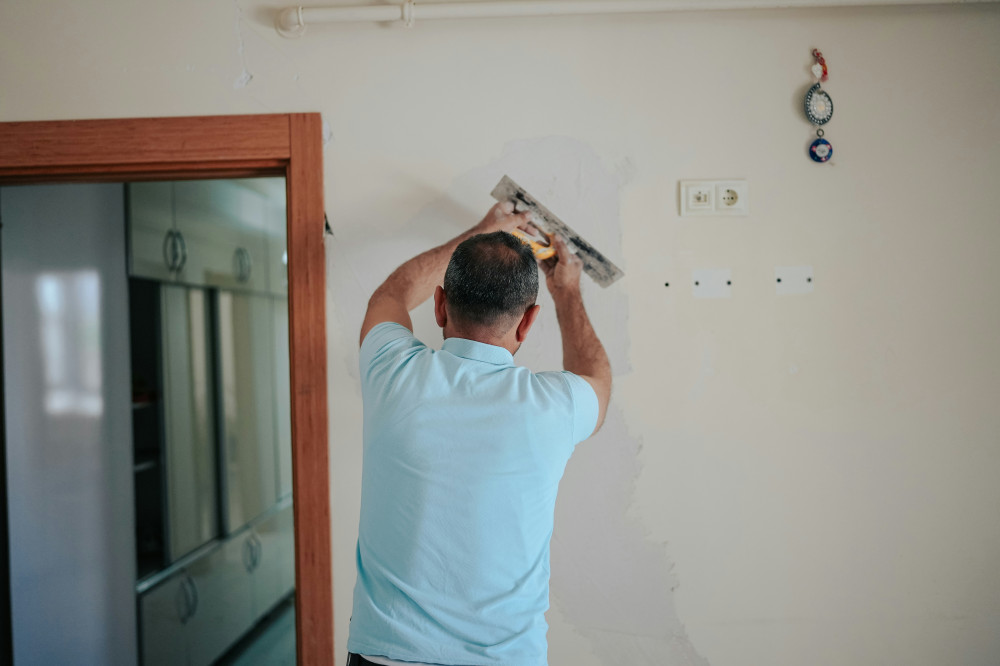
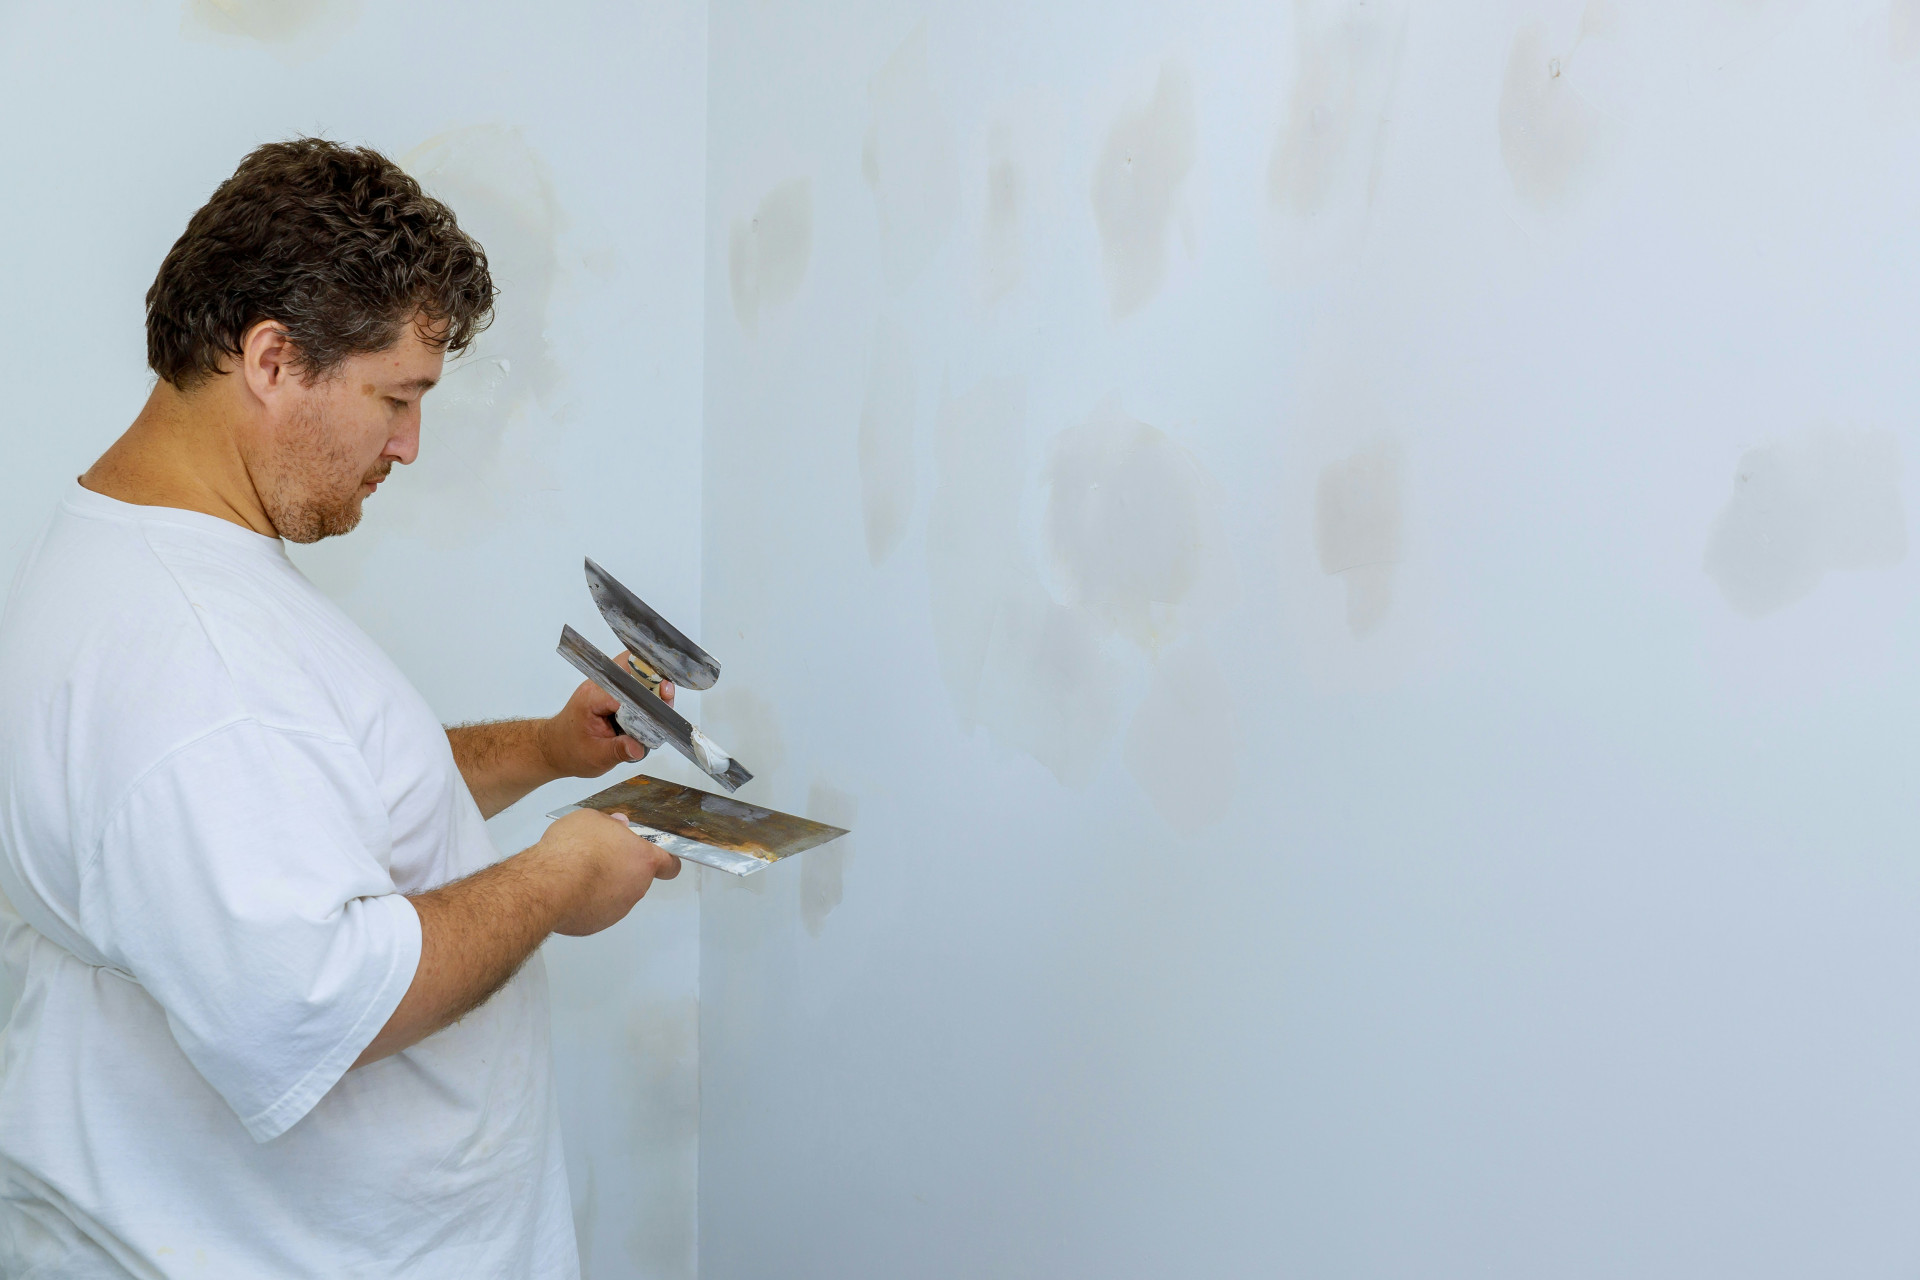
Use a flexible patching compound or acrylic caulk, depending on the location. For most interior drywall cracks, a lightweight spackling compound works well. Press the compound firmly into the crack with a putty knife and smooth the surface.
For larger or recurring cracks, apply a fiberglass mesh tape over the crack before spreading the compound. This reinforces the repair and helps prevent the crack from reopening as the wall moves.
4. Sand and Prime
Once the patch is completely dry, lightly sand the area with fine-grit sandpaper until smooth. Wipe away dust, then apply a primer—especially if you’ve patched bare drywall or plaster. Primer helps the paint adhere evenly and prevents flashing (uneven sheen).
5. Paint the Wall
Finish by painting the repaired area with the same color as the rest of the wall. For the best result, repaint the entire wall to ensure a uniform finish. Use a high-quality interior paint and a roller suited to your wall’s texture.
How to Prevent Cracks from Coming Back
Even the best repair won’t last if the underlying cause isn’t addressed. Here are some tips to help keep your walls crack-free:
- Maintain consistent humidity – Use a humidifier in winter and a dehumidifier in summer to reduce expansion and contraction.
- Use flexible materials – Choose elastic patching compounds and paints that can move with the wall.
- Avoid rapid temperature changes – Gradual heating and cooling help minimize stress on materials.
- Check joints and corners – Cracks often form where two materials meet. Use caulk instead of rigid filler in these areas.
- In new homes – Wait a few months before doing final painting, allowing the house to settle first.
Læs også:

When to Call a Professional
Most small cracks are easy to fix yourself. However, if cracks keep reappearing, or if they’re wide, deep, or diagonal, they could indicate a structural issue, moisture problem, or foundation movement. In that case, it’s best to consult a contractor or structural engineer to assess the cause before making cosmetic repairs.
A Smooth Wall—and a Lasting Finish
Repairing cracks in painted walls takes a bit of time and care, but it’s a project most homeowners can handle. With the right preparation, quality materials, and attention to detail, you can restore your walls to a flawless finish—and keep them looking great for years to come.
Læs også: