Paint Over Several Days: Plan Your Prep and Finish Efficiently

Paint Over Several Days: Plan Your Prep and Finish Efficiently
Painting a room can seem like a quick weekend project, but it often takes longer than expected. Drying times, prep work, and multiple coats all add up — and rushing through them can lead to uneven coverage or visible streaks. By spreading the work over several days, you can achieve a smoother finish and a more relaxed process. Here’s how to plan your painting project efficiently from start to finish.
Day 1: Preparation Is Half the Work
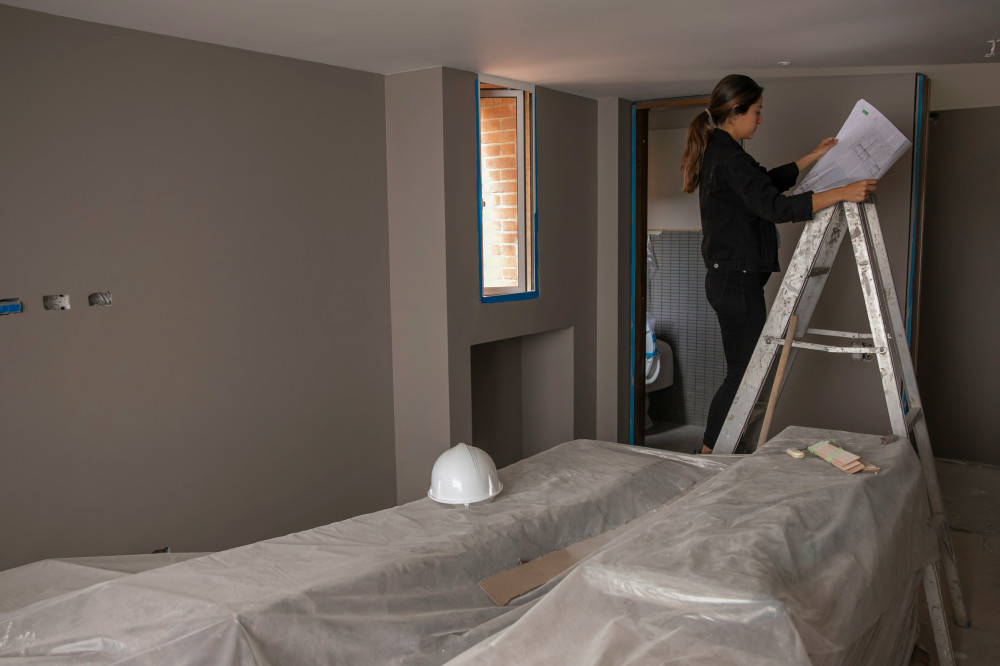
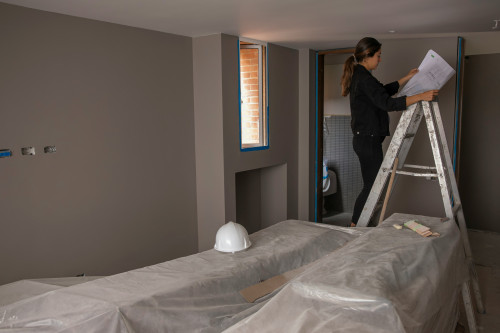
A great paint job starts long before the brush hits the wall. Begin by clearing the room as much as possible. Move furniture to the center and cover it with plastic sheeting or drop cloths. Protect floors with rosin paper or canvas drop cloths, and remove outlet covers, nails, and screws.
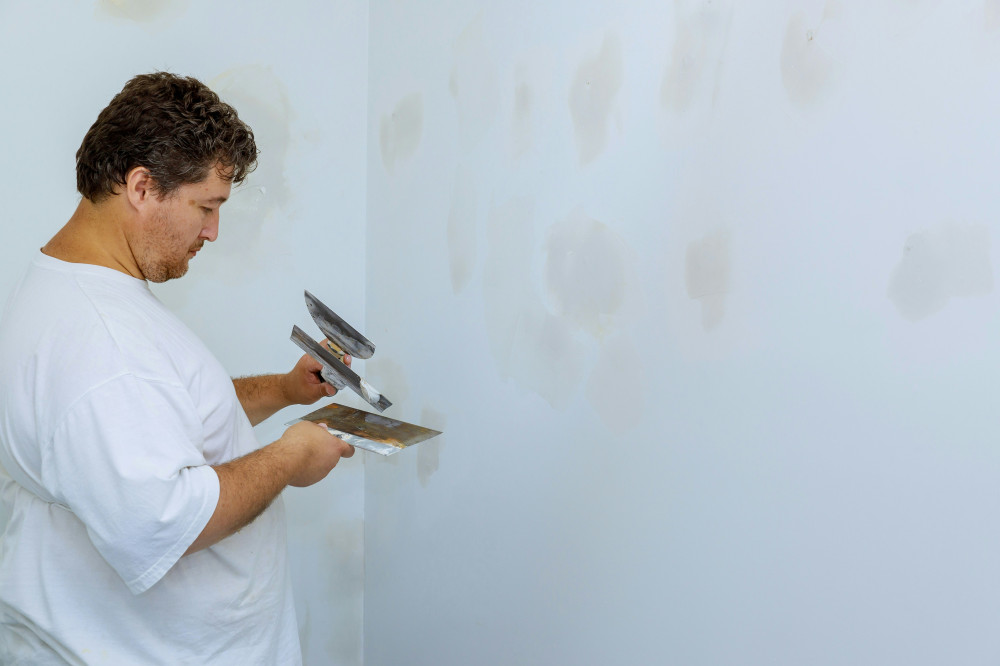
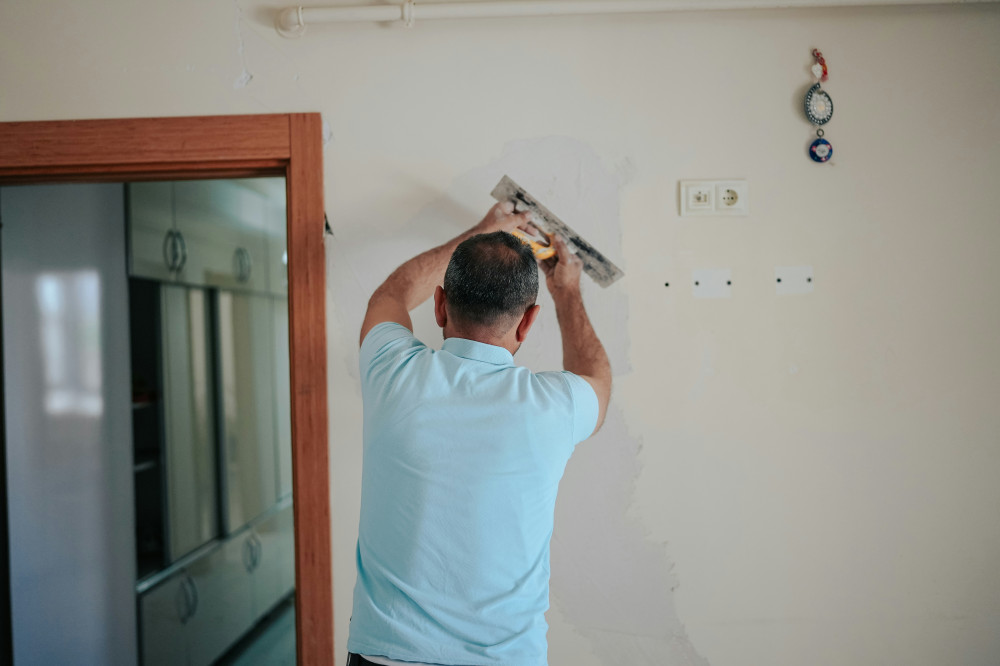
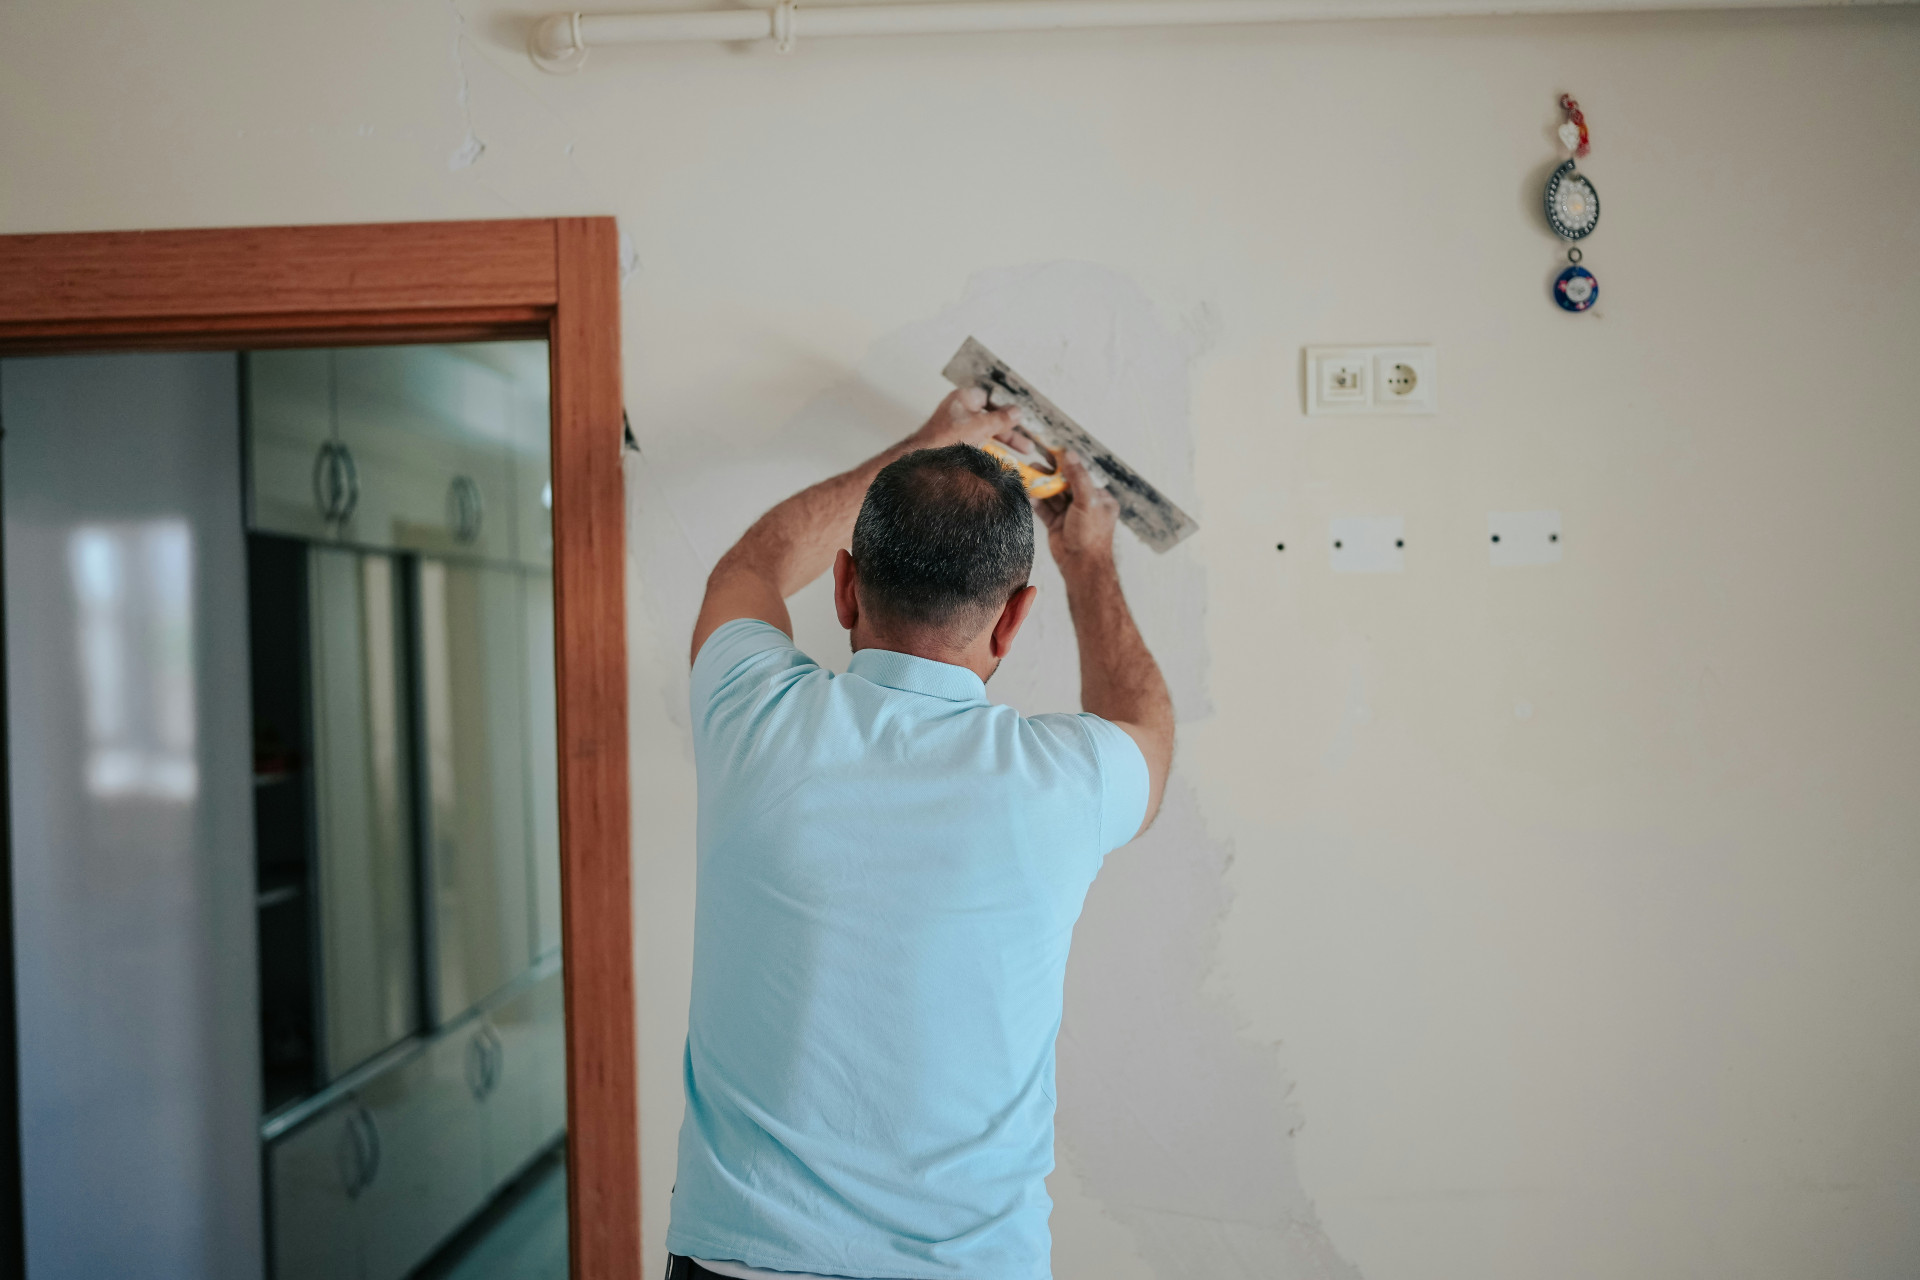
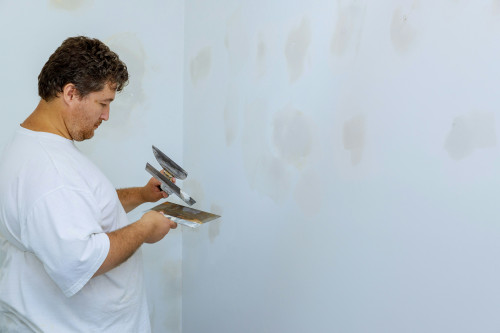
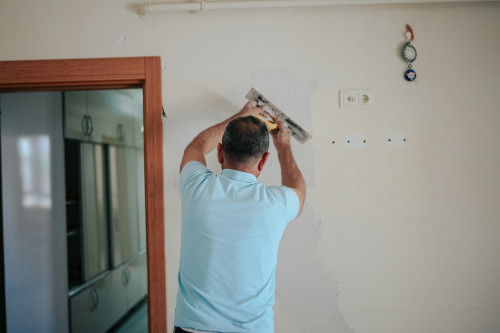
Next, clean the walls. Use a mild detergent or a degreasing cleaner to remove dirt and residue, especially in kitchens or bathrooms. Patch any holes or cracks with spackle, and once it’s dry, sand the surface smooth with fine-grit sandpaper.
Finish the day by vacuuming and wiping down surfaces to remove dust. A clean, smooth surface helps paint adhere better and ensures a more professional-looking result.
Day 2: Priming and the First Coat
Once the walls are dry and clean, it’s time to prime — especially if you’re painting new drywall, covering dark colors, or switching from glossy to matte finishes. Primer helps the paint bond evenly and improves color coverage.
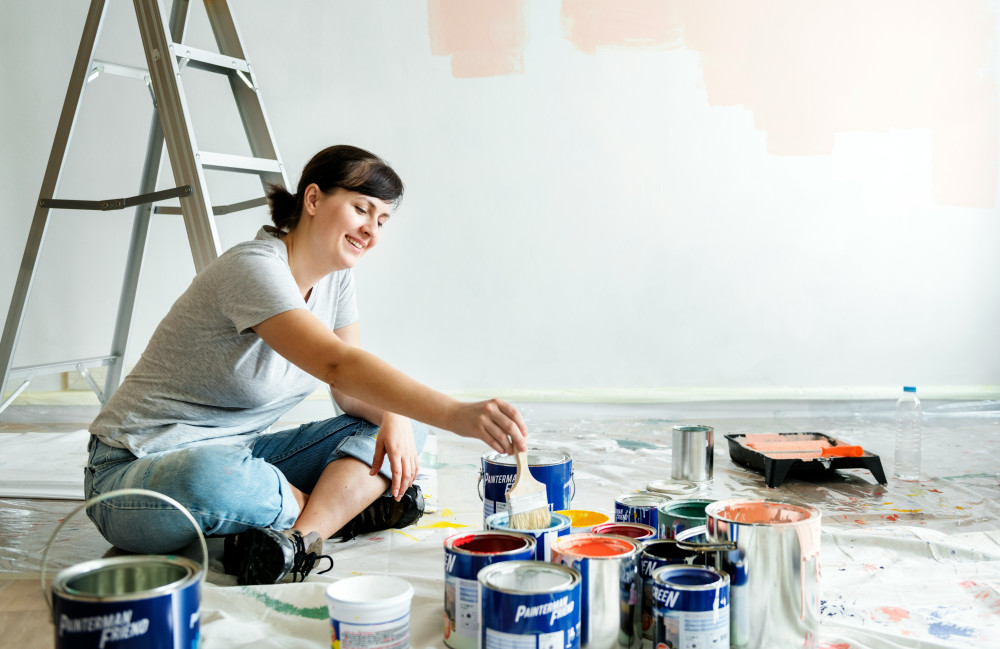
After the primer dries, apply your first coat of paint. Use a brush for edges and corners, and a roller for larger areas. Work in small sections and maintain a “wet edge” to avoid lap marks.
Let the first coat dry completely before deciding if you need another. Most interior paints require at least two coats for full coverage, especially with lighter colors over darker ones.
Læs også:

Day 3: Second Coat and Finishing Touches
When the first coat is fully dry, apply the second. This is when the color really comes to life. Make sure the room is well-lit so you can spot any uneven areas as you go.
After the final coat, allow the paint to cure for at least 24 hours before rehanging artwork or moving furniture back. It might feel like a long wait, but it prevents dents and smudges on your fresh walls.
Remove painter’s tape carefully while the paint is still slightly tacky — this helps create clean, crisp edges without peeling.
Smart Tips for Planning and Breaks
- Check the weather: High humidity or low temperatures can slow drying times, even indoors.
- Work one room at a time: It keeps the project manageable and your home livable.
- Invest in quality tools: Good brushes and rollers make application smoother and faster.
- Store tools properly between days: Wrap brushes and rollers in plastic wrap or seal them in airtight bags to keep them from drying out.
- Take breaks: Painting requires focus and steady hands — short breaks help you stay consistent and avoid mistakes.
A Great Finish Takes Time — and Patience
Painting over several days isn’t about dragging out the job; it’s about giving each step the attention it deserves. With thoughtful planning, proper prep, and patience between coats, you’ll end up with a finish that looks professional and lasts for years.
So next time you pick up a paint roller, remember: the best results don’t happen in a single day — they come from good planning and a little patience.
Læs også: