Step by Step: How to Plan a Successful Home Insulation Project

Step by Step: How to Plan a Successful Home Insulation Project
Proper home insulation is one of the smartest ways to save energy, improve comfort, and reduce your carbon footprint. But a successful insulation project doesn’t happen by chance—it requires careful planning, budgeting, and execution. Here’s a step-by-step guide to help U.S. homeowners plan and carry out an effective insulation project, from the first assessment to the final inspection.
1. Start by Assessing Your Home’s Needs
Before you begin, identify where your home is losing the most heat or cool air. You can do this in several ways:
- Schedule a home energy audit – Many utility companies and certified energy auditors offer detailed assessments that pinpoint areas of energy loss.
- Use an infrared camera – Thermal imaging can reveal cold spots, air leaks, and poorly insulated areas.
- Inspect common problem areas – Attics, exterior walls, basements, and crawl spaces are often the biggest culprits.
Understanding where your home needs improvement will help you target your efforts and maximize your return on investment.
2. Set a Realistic Budget
Once you know what needs to be insulated, it’s time to plan your budget. Costs vary depending on materials, labor, and the size of the project. Consider:
- Material costs – Fiberglass, cellulose, spray foam, and rigid foam boards all have different price points and performance levels.
- Labor vs. DIY – Some insulation types, like fiberglass batts, are DIY-friendly, while spray foam or blown-in insulation usually require professionals.
- Rebates and tax credits – Check for federal, state, or local incentives. The Inflation Reduction Act, for example, offers tax credits for energy-efficient home improvements.
A clear budget helps you prioritize and avoid unexpected expenses.
Læs også:


3. Choose the Right Insulation Materials
The best insulation for your home depends on your climate, building type, and personal preferences. Here are some common options:
- Fiberglass – Affordable, widely available, and effective for attics and walls.
- Cellulose – Made from recycled paper, it’s eco-friendly and great for filling wall cavities.
- Spray foam – Provides excellent air sealing and high R-value but must be professionally installed.
- Rigid foam boards – Ideal for basements, foundations, and exterior walls.
When choosing materials, also consider moisture control, fire resistance, and indoor air quality. The right combination will ensure long-term performance and comfort.
4. Plan the Work in the Right Order
A well-organized project saves time and money. Typically, insulation should be installed in this order:
- Attic and roof – Heat rises, so insulating the attic is often the most cost-effective step.
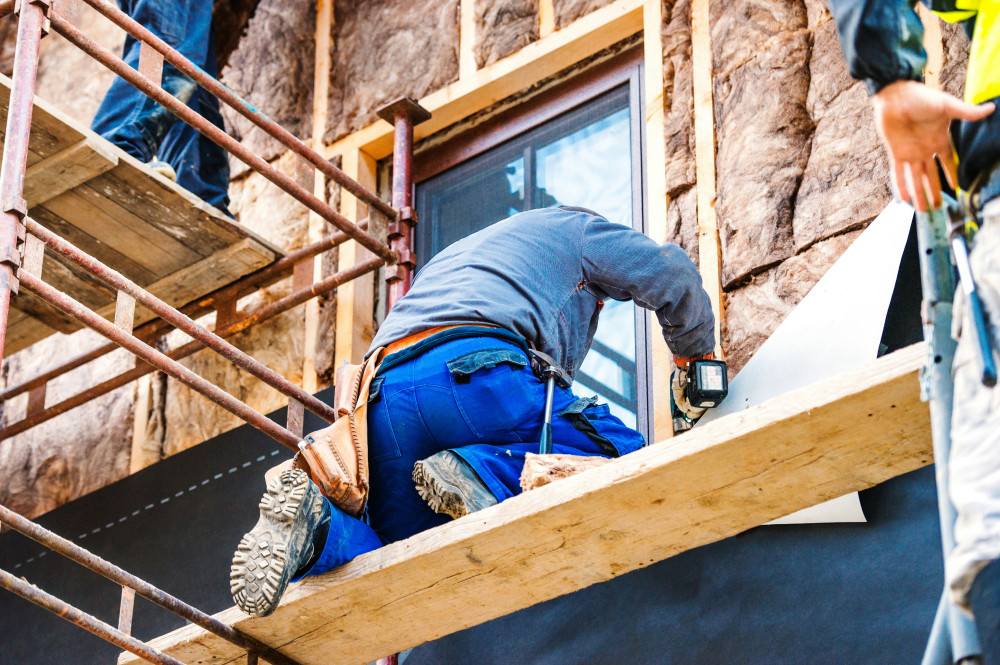
- Exterior walls – Especially important for older homes with little or no existing insulation.
- Basement or crawl space – Helps prevent cold floors and moisture problems.
- Windows and doors – Seal gaps and upgrade to energy-efficient models if needed.
Coordinate insulation work with other renovations, such as roof replacement or siding upgrades, to minimize disruption and cost.
5. Get Multiple Quotes and Choose Qualified Contractors
Even if you plan to do some of the work yourself, it’s wise to get several quotes from licensed insulation contractors. This helps you compare prices, materials, and warranties.
When selecting a contractor, check that they:
- Are licensed and insured in your state.
- Have experience with your chosen insulation type.
- Provide a detailed written estimate that includes materials, labor, and cleanup.
You can verify credentials through organizations like the Insulation Contractors Association of America (ICAA) or your state’s licensing board.
6. Oversee the Installation Process
Once the project begins, stay involved to ensure quality work. Make sure that:
- Vapor barriers and air seals are properly installed.
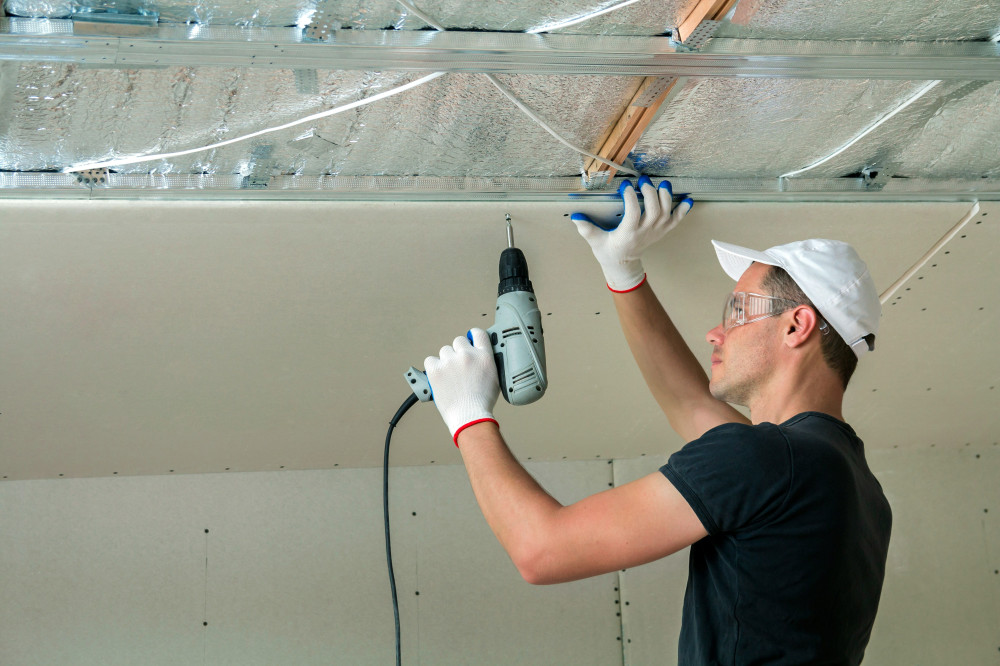
- Insulation is evenly distributed without gaps or compression.
- Ventilation is maintained to prevent moisture buildup.
Take photos during installation for your records—these can be useful for future maintenance, resale, or warranty claims.
7. Inspect the Results and Enjoy the Benefits
After the work is complete, inspect the results. A follow-up energy audit or blower door test can confirm that your home is now properly sealed and insulated.
You’ll likely notice the benefits right away: fewer drafts, more consistent indoor temperatures, and lower heating and cooling bills. Plus, improved insulation can increase your home’s resale value and overall comfort.
8. Think Long-Term
Insulation is a long-term investment that pays off over time. To maintain its effectiveness:
- Monitor for signs of moisture or pest damage.
- Keep vents and air pathways clear.
- Consider future upgrades, such as energy-efficient windows or a heat pump system.
A well-planned insulation project is more than a one-time improvement—it’s a step toward a more energy-efficient, comfortable, and sustainable home.
Læs også: