Vapor Barrier Repair: How to Do the Job Correctly During Renovation

Vapor Barrier Repair: How to Do the Job Correctly During Renovation
A vapor barrier plays a crucial role in a home’s building envelope. It prevents moisture from indoor air from migrating into walls and ceilings, where it can condense and lead to mold, rot, and structural damage. During a renovation—especially when you open walls, replace insulation, or modify ceilings—it’s essential to make sure the vapor barrier remains intact. Even small leaks can cause long-term problems that may not become visible for years. Here’s a practical guide to repairing and sealing a vapor barrier properly in U.S. homes.
What Is a Vapor Barrier and Why Does It Matter?
A vapor barrier (or vapor retarder) is typically a plastic sheet or specialized membrane installed on the warm side of the insulation—usually the interior side of exterior walls and ceilings in colder climates. Its purpose is to limit the movement of water vapor from the conditioned indoor air into the building structure, where it could condense on cooler surfaces.
If the barrier is damaged—by nails, electrical work, or during remodeling—small openings can allow moisture to pass through. Over time, this can lead to hidden mold growth, insulation deterioration, and even structural decay.
Locate the Damage and Assess the Extent
Before starting repairs, identify where the vapor barrier has been compromised. Damage may appear as visible tears, punctures, or gaps at seams. Sometimes, you’ll only notice issues after removing drywall or ceiling panels.
- Small holes or tears can usually be repaired with vapor-barrier-approved tape.
- Larger rips or missing sections require patching with a new piece of vapor barrier material, sealed tightly around the edges.
- Leaky seams or joints should be resealed with butyl or acrylic tape designed for vapor barriers.
Avoid using general-purpose duct tape or household adhesives—they lose adhesion over time and are not rated for air or vapor sealing.
Step-by-Step: How to Repair a Damaged Vapor Barrier
Once you’ve located the problem area, follow these steps for a durable, airtight repair:
- Clean the area around the damage. Remove dust and debris so the tape or patch adheres properly. A dry surface is essential—moisture will weaken the bond.
- Cut a patch of vapor barrier or tape that extends at least 2 inches (about 5 cm) beyond the damaged area on all sides.
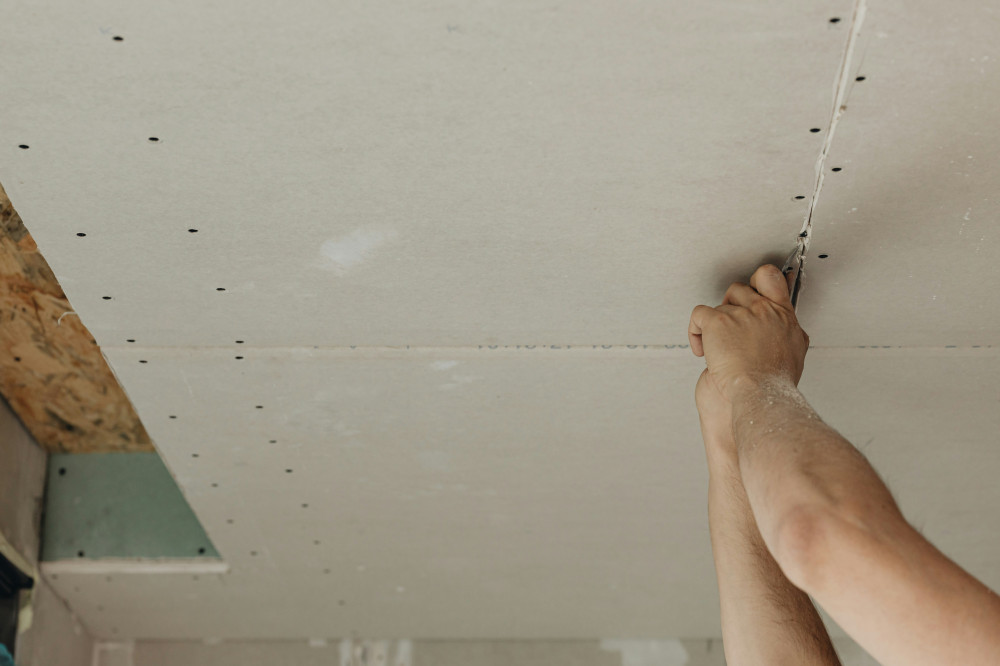
- Apply the patch or tape smoothly, pressing it firmly with a roller or flat tool to eliminate air bubbles.
- For larger holes, cut a new piece of vapor barrier to fit, then tape it securely around all edges with vapor-sealing tape.
- Inspect the seal by running your hand over the area to ensure the patch is smooth, tight, and fully adhered.
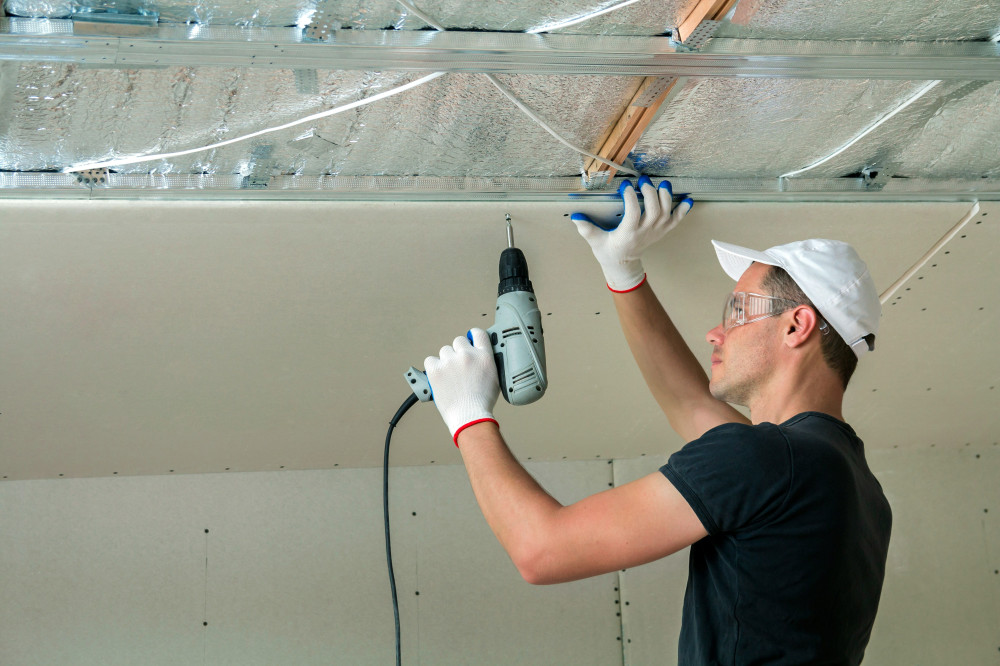
If you’re working overhead, such as on a ceiling, having a helper can make it easier to keep the material taut while applying the tape.
Læs også:

Special Considerations Around Electrical Boxes and Penetrations
Penetrations for electrical boxes, plumbing, and HVAC ducts are common weak points in a vapor barrier. Use preformed sealing gaskets or flexible sealing tape designed for these applications. They maintain an airtight and vapor-tight seal even when materials expand or contract.
When planning new installations, think about the vapor barrier early in the process. It’s much easier to create a tight seal during construction than to fix leaks afterward.
Common Mistakes to Avoid
DIYers often make the same errors when repairing or installing vapor barriers:
- Using the wrong type of tape or sealant not rated for vapor barriers.
- Making overlaps that are too small to ensure a proper seal.
- Forgetting to seal around electrical boxes, pipes, and vents.
- Working in damp or dusty conditions that prevent adhesion.
Avoiding these mistakes will help protect your home from moisture damage and improve its energy efficiency.
When to Call a Professional
If you discover extensive damage or if the vapor barrier is hidden behind finished walls or ceilings, it may be best to consult a professional. A building contractor, energy auditor, or insulation specialist can assess the situation and recommend the right repair strategy. Professional help is also advisable if you’re planning major upgrades such as re-insulating or replacing a roof—these projects often provide an opportunity to install a new, continuous vapor barrier.
A Tight Vapor Barrier Is a Smart Investment
Though it may seem like a small detail, a properly sealed vapor barrier has a big impact on your home’s durability, comfort, and indoor air quality. A careful repair prevents moisture problems, enhances energy performance, and ensures your renovation stands the test of time.
Take the time to do the job right—it’s an investment that pays off for years to come.
Læs også: